The Dead Man’s Mail treasure map in Avowed sends you into one of Shatterscarp’s most dangerous areas on a quest for pants of questionable origin.
Still, if you need more distractions in battle than your two companions provide, it’s worth putting up with some tough fights to find the treasure. In addition to getting one of the most, um, daring pieces of Avowed fashion, you also gain a new ability that lets you summon a helper in battle — so long as you wear the right pants. Just make sure to bring three lockpicks along before you set out. This treasure’s locked up.
This Avowed guide shows where to find the Dead Man’s Mail map, where to look for the treasure, and how to get it safely.
Where to find Dead Man’s Mail treasure map
This map is easy to miss unless you’re exploring every part of Shatterscarp. It’s on a skeleton in the middle of the Sand Sea, in a small encampment roughly near the “S” in “Sea” on your map marker. The camp overlooks a posse of Dreamthralls, but if you stick to the tents, you should be able to grab the map without alerting any enemies.
The fastest way to reach this area is by heading east from Thirdborn. You’ll also discover another Strangled Adra location, so bear that in mind if you’re wanting to cleanse each region’s Strangled Adra and get more of Avowed’s backstory (and bonus abilities).
Dead Man’s Mail location solution
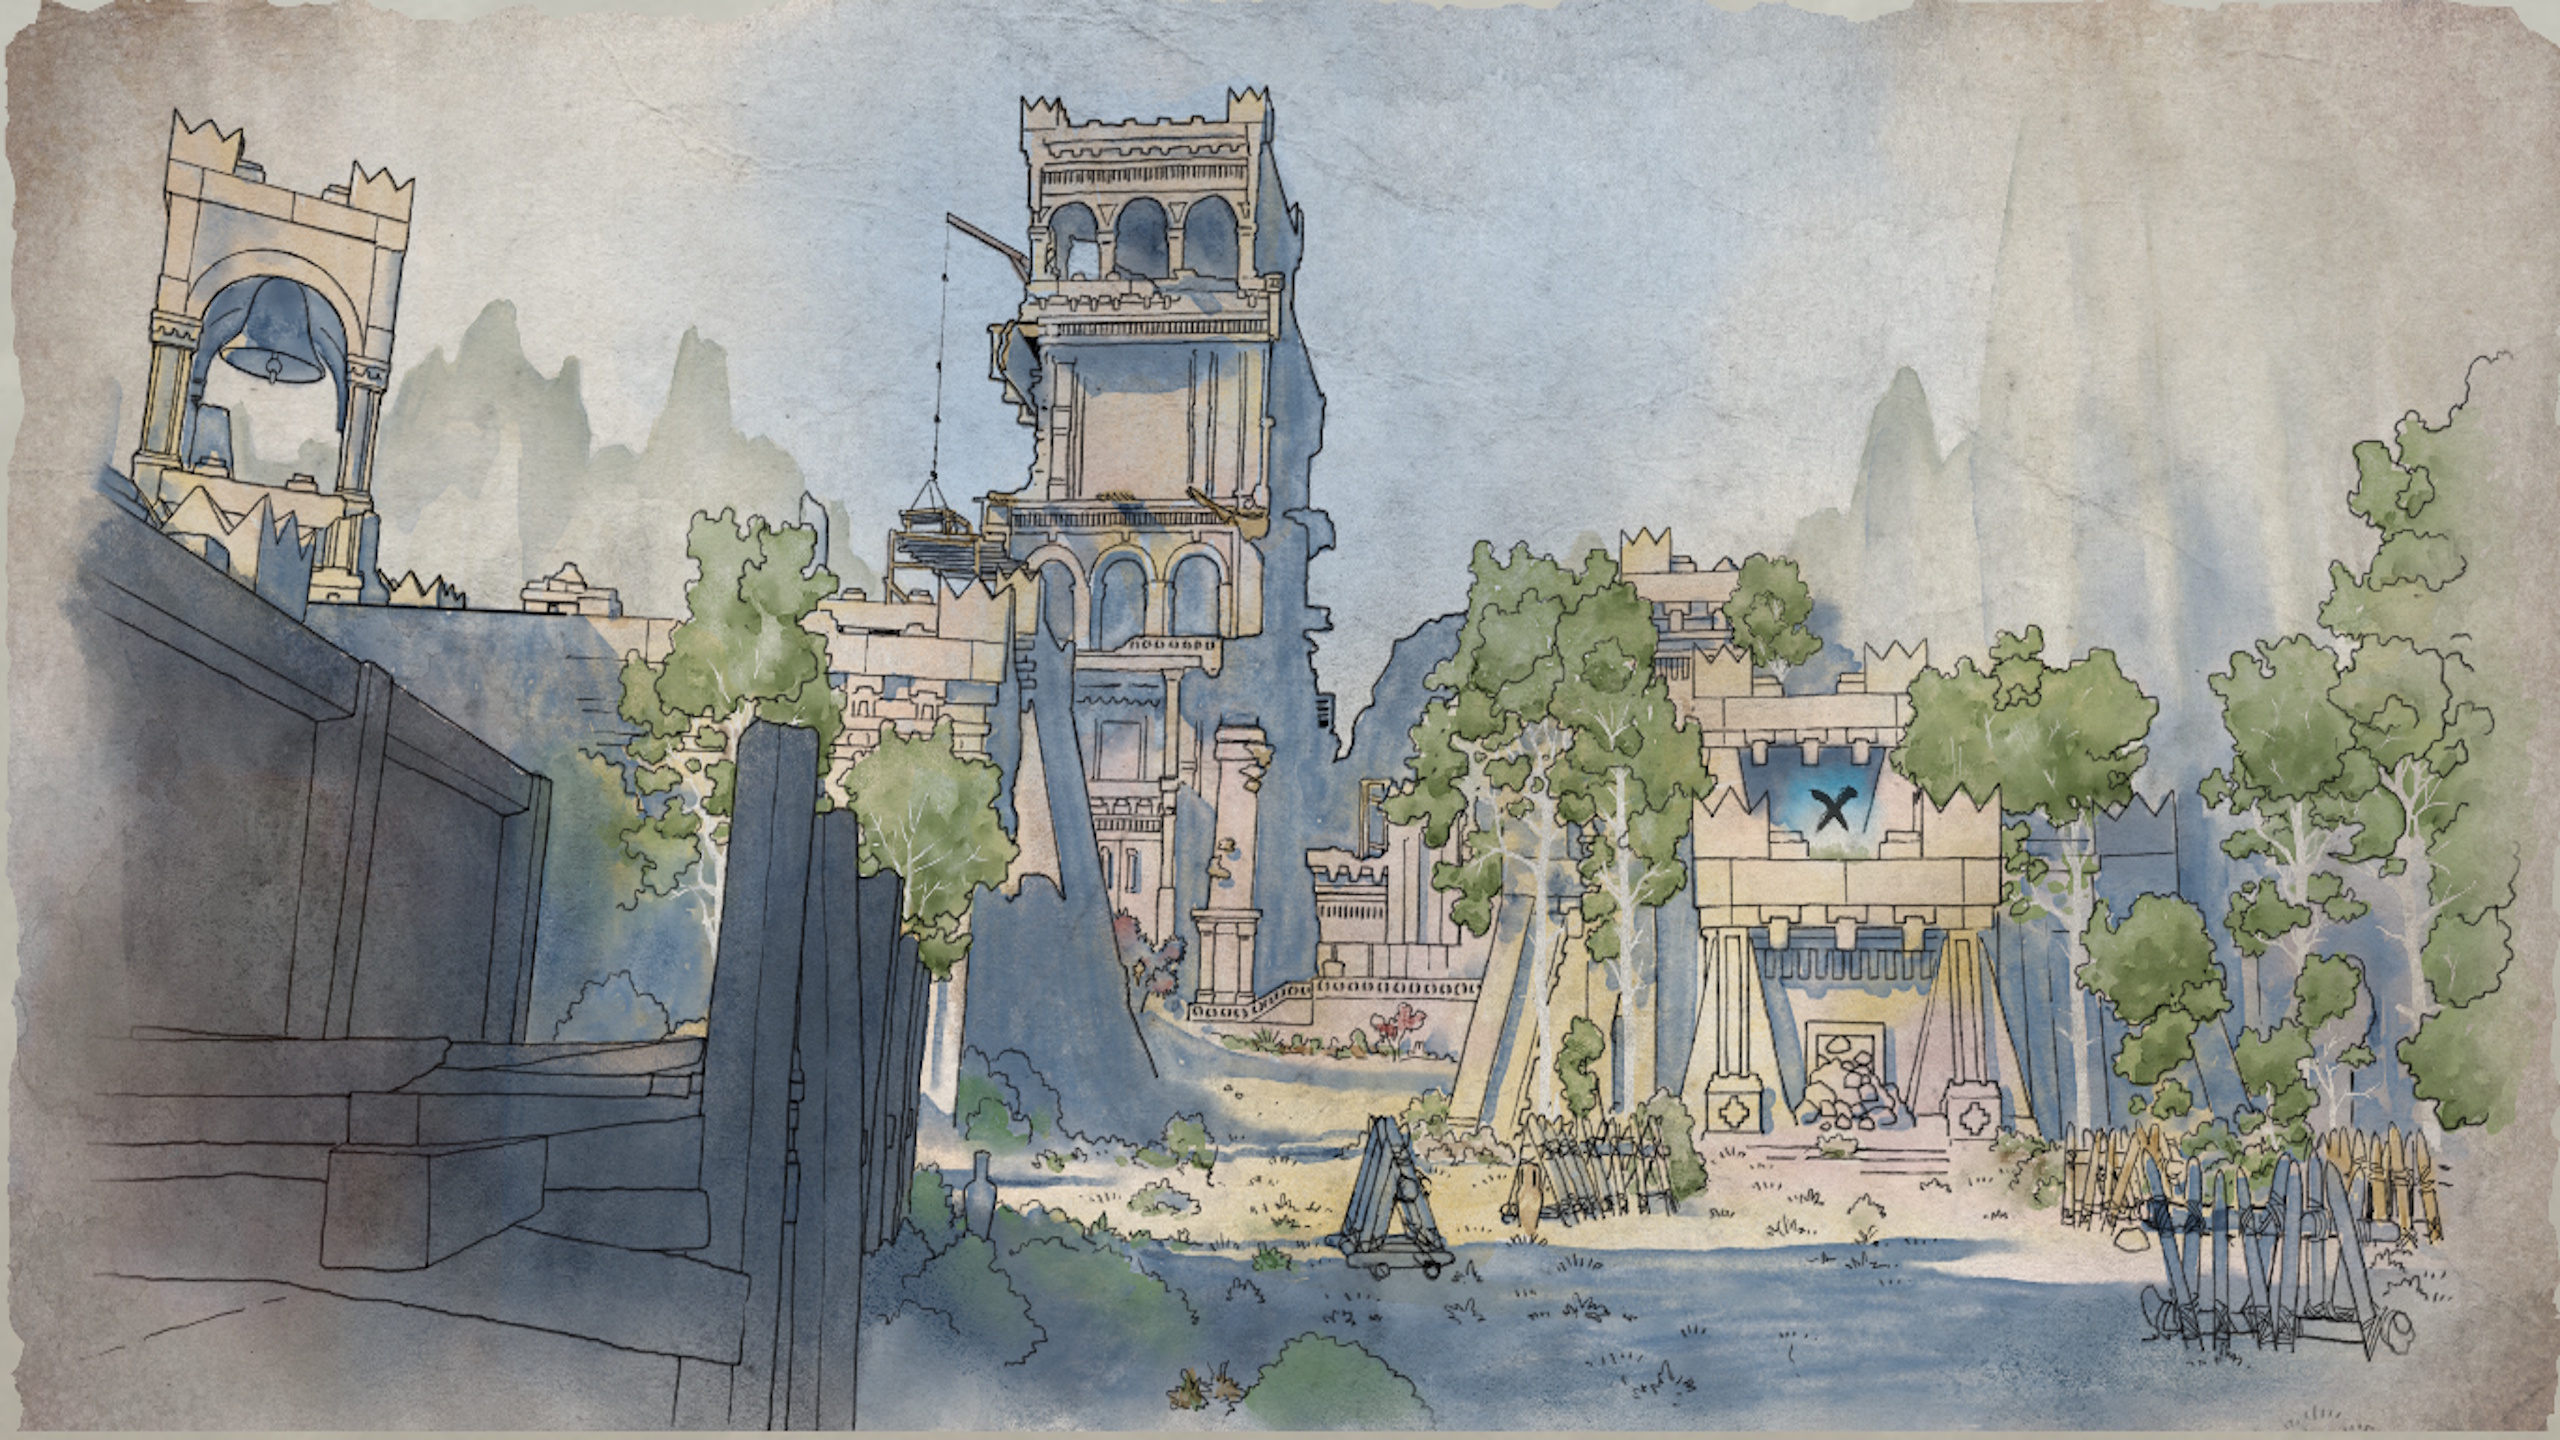
Dead Man’s Mail shows a location with what looks like a construction crane, and the only area that fits that description is the Shark’s Teeth area, near where you have to travel for Avowed’s main quest. You’re looking directly at Tago’s Tower, which means the perspective is from south of the fast travel beacon there. The X to the right is above a collapsed doorway.
The position this map shows is in the middle of a clearing full of skeleton warriors and beetles, and to the left is a small enclave of powerful ghosts. The best way to handle this situation safely is to just face south from the fast travel beacon and climb the fallen stone pillar.
Walk along the ramparts, turn left, and use lockpicks to open the chest and find Necropants inside.
Despite the wizard boasting about creating a full set of deathly armor in the map description, the Necropants are the only treasure here. They come with a curious mix of stats that penalize essence, but offer good damage reduction.
Summons in battle make excellent distractions to keep enemy attention off you and your companions, and if you sold your body to Elia in Emerald Stair, you can use the Revenant Collar’s skill to summon a revenant alongside the spectre. Poison resistance is also very useful, given how common Dreamthrall enemies are from here on out.